
Build a portable Allstar Link Hotspot – Part 5 Putting it into a box
Thinking inside the box
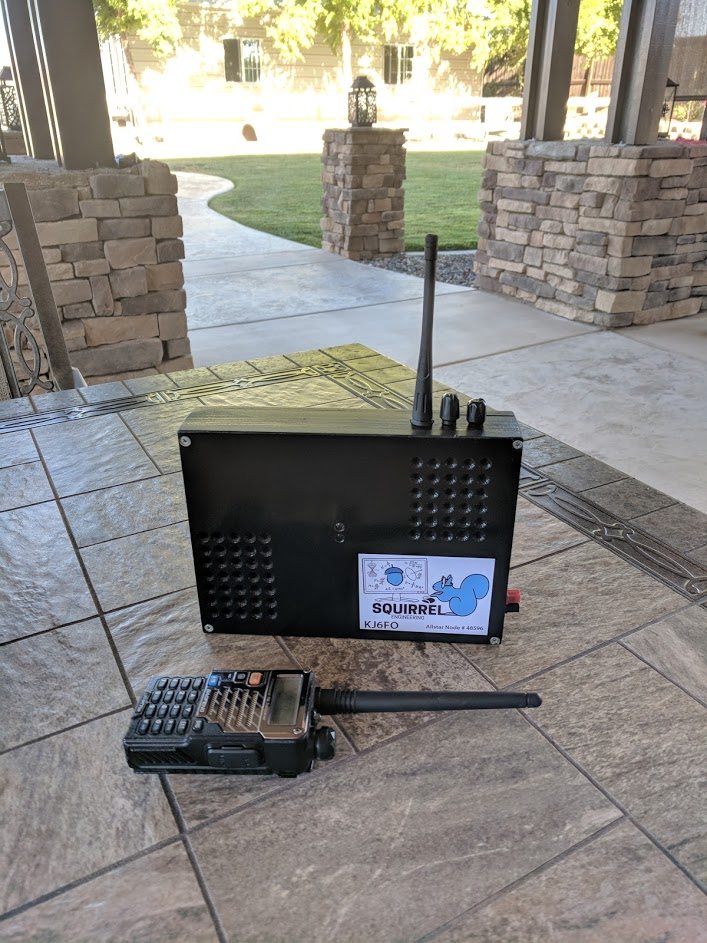
Making the enclosure for the portable Allstar node.
After finishing with the electronics the node needed a permanent box. The pictures are mostly self explanatory, but I have added a few comments as needed next to the pictures below.
The construction of my box was made from thin Baltic birth plywood and some pine that I had on hand in the work shop. Its just a basic box with holes drilled into various positions. Nothing about this design is critical, so feel free to come up with your own plans.
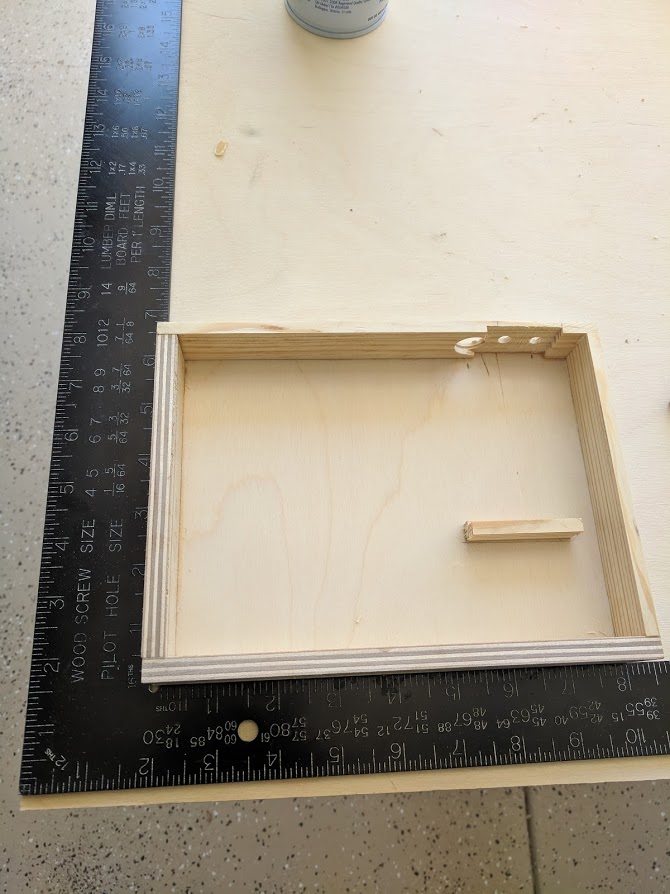
The box construction is just a basic box, except at the top where the radio knobs and antenna poke though the side, a dado was cut to make the side thinner to allow for the radio to fit better. The BF888s metal Chasis has some protrusions that “stick out” and hit the side of the box. Next time I may grind the metal down to flatten the edge, but I did not want to disassemble my radio one more time and cutting the dado was an easier solution.
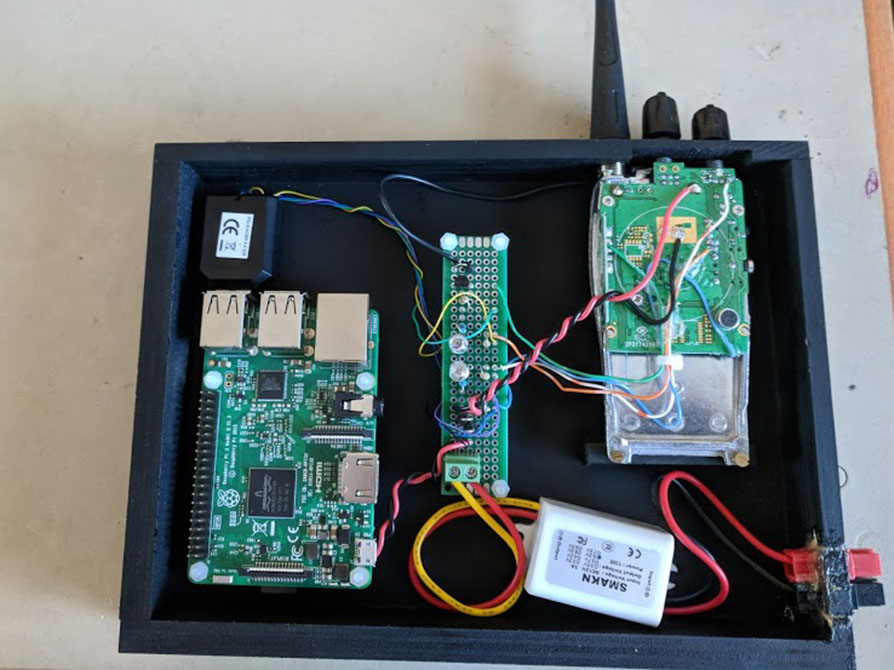
The rectangular piece of wood inside the box is a mounting point for the base of the radio which is attacked with two small screws into this piece of wood. This set up holds the radio in position nicely.
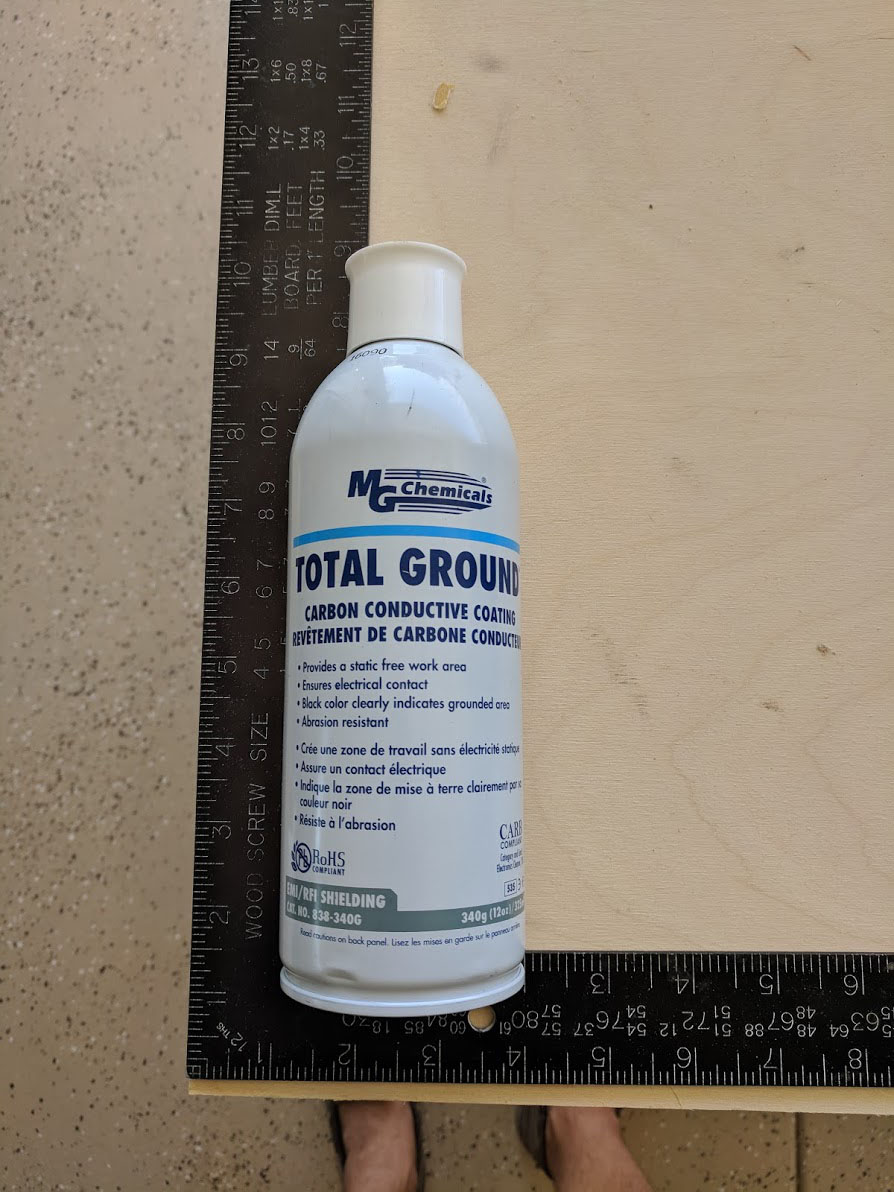
In testing, I noticed that the radio, when keyed would un-key and re-key up repeatedly until I did something to stop it. After some investigation I determined that RF from the antenna was getting fed back into the COS circuit on the interface board in the middle causing this endless cycle. I added shielding to the box, using the conductive paint to eliminate RF inside the box. This solved the problem.
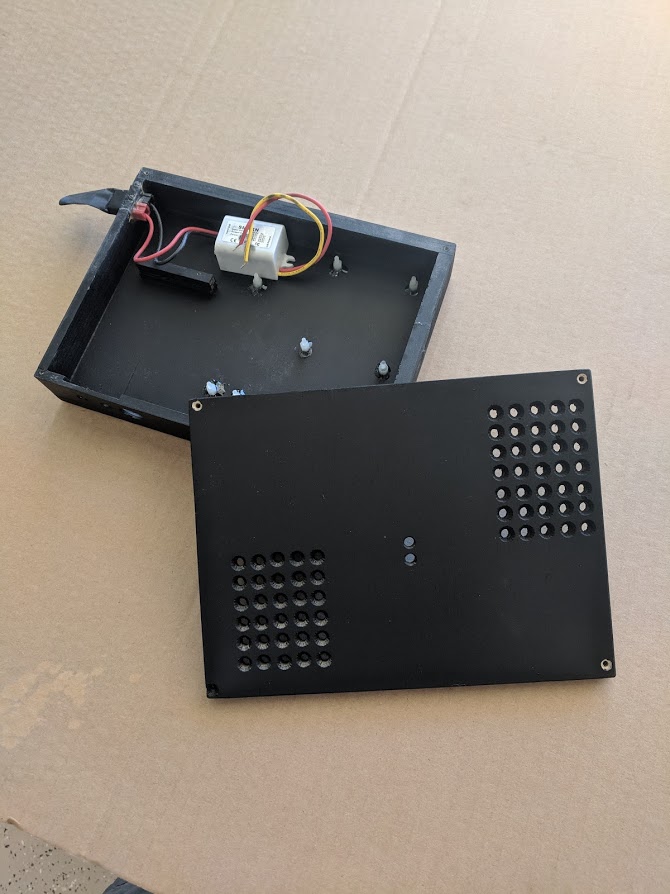
The nylon standoffs were screwed into the circuit boards and then had 5 minute epoxy applied to the bottoms. I pressed the boards into place until the epoxy set, making a perfectly aligned set of mounting points.
The cover has holes drilled in a rectangular pattern located above the radio and the Raspberry Pi to allow air flow to cool off the components. I shaped the holes after drilling with a countersink bit to make the look more appealing. The four screws attach the cover to the rest of the box. Two holes were drilled to allow the PTT & Power LEDs to poke through the cover.
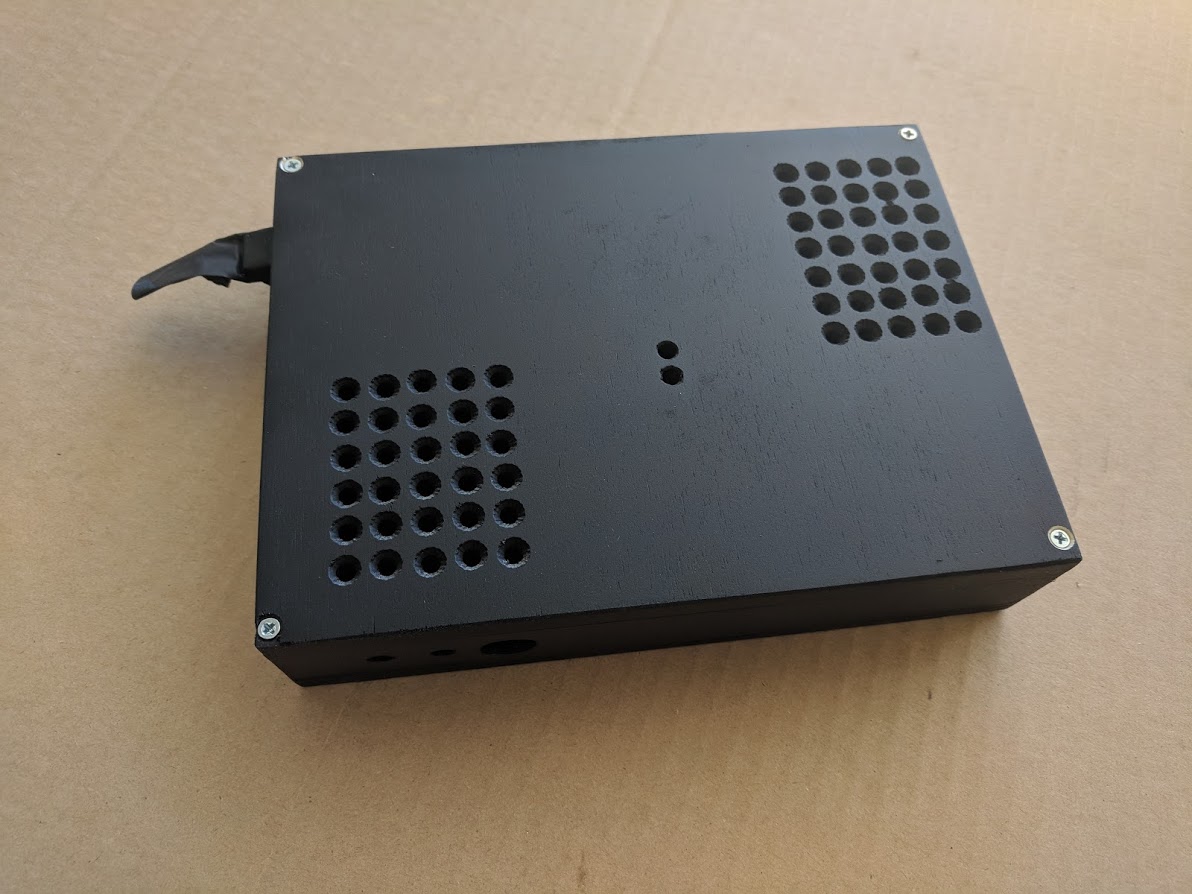
Finally I removed the electronics from the box and sprayed it with a clear spray paint to give it a gloss finish. And then reassembled everything and put it on the air for testing.
73s de Don KJ6FO
4 comments to “Build a portable Allstar Link Hotspot – Part 5 Putting it into a box”
andrew parrett - November 7, 2018
that is a cool box but did you take out the rf driver in the 888 have you any more info
admin - November 7, 2018
Hi Andrew,
Details of the radio are here: http://squirrelengineering.com/ham-radio/build-a-portable-allstar-link-hotspot-part-2-radio-mods/
It is a BF888s that has been removed from the case and otherwise unmodified. Output is about 4 watts.
Although I did not do it at the time I took pictures, you can/should remove the mic element. It can be carefully pulled off with some pliers.
73s Don
Russell Thomas - November 7, 2018
Very cool project, I’ve recently gotten into AllStar and have a similar node but with a fishing box as the case :).
73, Russell KV4S
admin - November 8, 2018
Thanks, de Don KJ6FO